 Thought I would use my diva pattern and picked out pieces from my pieces folder and well-most were from that pattern, just not the body bottoms! Had a panic attack when they didn't fit perfectly the first time then realized the problem when I pulled a print out. Who will she be???
Thursday, July 31, 2014
Hmmmm....
Thought I would use my diva pattern and picked out pieces from my pieces folder and well-most were from that pattern, just not the body bottoms! Had a panic attack when they didn't fit perfectly the first time then realized the problem when I pulled a print out. Who will she be???Tuesday, July 29, 2014
I am supposed to be cleaning...

 I also made a few charms and thought I would make a pin for another purse-just don't know which one yet!
Saturday, July 26, 2014
Live Love Bezel Charm

This is the bottom Left Bezel. The words are from a cheap romance novel. The heart is from a charm I broke in half. The bezel was painted with Black Cherry DecoArt Precious Metal Paints.
Experiments

 I also did some experimenting with bezels and Peobo Moon and Prisma paints. I have had them for awhile and finally decided to experiment. Here are the 6 bezels I made. I think I was given these with an order. They were all in one bubble pack with no price tag. They are very shallow, just right for the painted background and a layer of resin or tripple thick, which I used. on the one I show finished. I used a piece of wire to drop the paint into the Bezels.. I did finish two but only took a pic of one. The second is drying. I painted the outer lacy part of the bezel with Deco Art Precious metal paint and then highlighted with 24K Gold Paint Pen. The lovely Cab in the center is also from CJS. They have such beautiful crystal and glass pieces. Vickie and I split a bag of them. This base is shown in the above pic top right. I used a pin to help move the Prisma and Moon colors. My favorite is the one right below it which I haven't done anything with yet.
Tuesday, July 22, 2014
Finished and playing in PhotoShop


Left side Cloned, wide mouth, still sad eyes but better nose. And here is one with the face flipped. WOW! I do look at the faces in the mirrow, but must be my stigmatism!


Monday, July 21, 2014
Using Leftover Hoffman Challenge Fabric

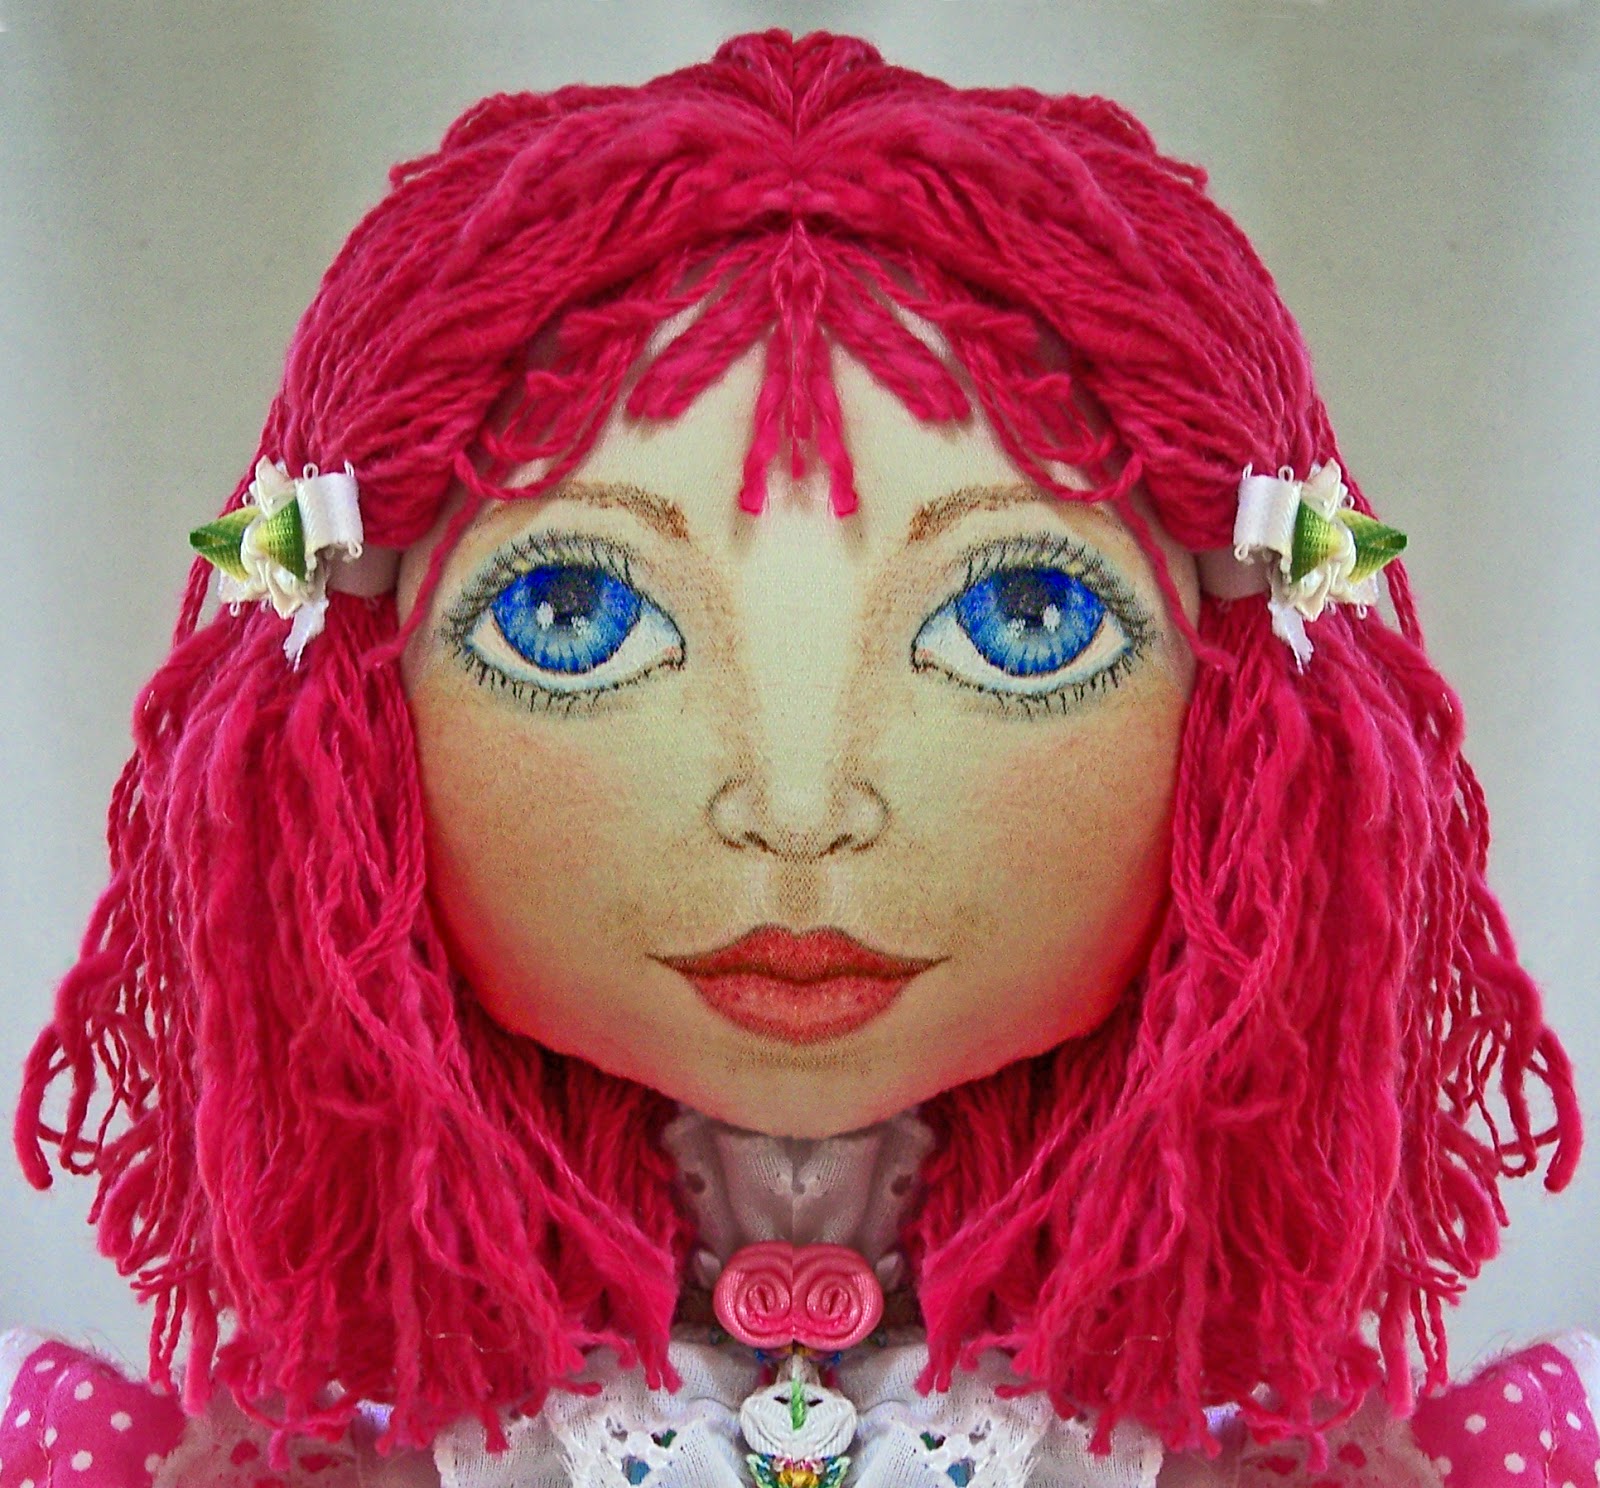
 The pink of her dress is one of the coordinates. Have a friend having a baby, thought I would make something for the big sister. Her dress is the Hoffman Fabric. Deciding on her hair. This is my Lady
 Ragalia pattern. I know which hair I like best. Her apron is a pink Polka dot that goes perfectly with the dress fabric. Lots of eyelet trim. The flower trim down the center and around the neck is from Ribbonsmyth. and one of my favorites.


Wednesday, July 16, 2014
New Pendants and finished doll


I also finished my Selfie doll. She is dressed in a replica of one of my favorite dresses my mother made for me when I was about 7. It was purple with collar, cuffs, bias trim on the skirt, and an under skirt of a large purple gingham check. It also had a large bow in back. I took some liberties with the design as I had limited check fabric and locally couldn't source any purple gingham! I remember I used to hold the tails of the bow and swing back and forth so the skirt swished. My Mother made me such beautiful dresses. She is 93 and starting to lose her memory and I have been involving her to remember the dresses and sketching as we talk. She is made from the Style design. I needed to test the face again and of course blew out an area being in a hurry so I did a clay over and took lots of pics so will probably include that if it does become a pattern. I also made her able to stand without a base.
Saturday, July 12, 2014
Another OOOPs Face
 One more face before I decide which one to use in the In Her Own Style pattern. Since I had my mind on a Clay over face, I wasn't careful and blew out the filtrum. Sooooo did some needle sculpting and the clay over thing. I am going to use this face for the Self Portrait Challenge over on Doll Street. Here is the finished face and following is the needle sculpted OOOPs head. Think I am going to use the original face in the pattern. Really love her pointed chin. Thought it was too large, but the more I look at it, the more I like it. The last pic is the one I am using for the self portrait though I wanted a pic of me around 7 and in this pic I was 3 so I elongated her nose a bit and thinned the lips. I also used fabric medium on the face before coloring. Not happy with that either. No pilling, but the colors really just don't look the way I want. I tried just spraying with Krylon Matte clear, but the fabric still pilled. Oh well, I still haven't tried gel medium. I am dressing her in a purple dress with a print underskirt and trim. It is exactly as I remember it - being one of my favorites. My Mother made it for me as she did just about ALL of my clothes until I was maybe 9-10 when I started sewing my own. Can't wait to tackle that hair do! If I try to reproduce how I wore my hair when I was 6, it would be frizz because my mother always gave me a perm to combat my straight straight hair and tons of cowlicks!

Saturday, July 5, 2014
Being Productive

I also got a wonderful free purse pattern from Craftsy. I need a large purse to carry my iPad in and I have had this wonderful piece of purple drapery fabric hanging around for a year or so waiting to become a purse. Here are pics of the finished bag. I added pockets inside, a stiff base in the bottom, and pleats in the front and back. It was a little too large but the pleats were just the trick. The ornaments in the center front and back are again from our trip to NYC. The buttons on the Straps were in a button tin gifted to me by Mrs. Youngman, my SIL's Mother. They were very tarnished to the point I didn't know what color the metal was. But a little patina and gilders paste and they are Perfect! Now to go out and it give a test drive!


Subscribe to:
Posts (Atom)