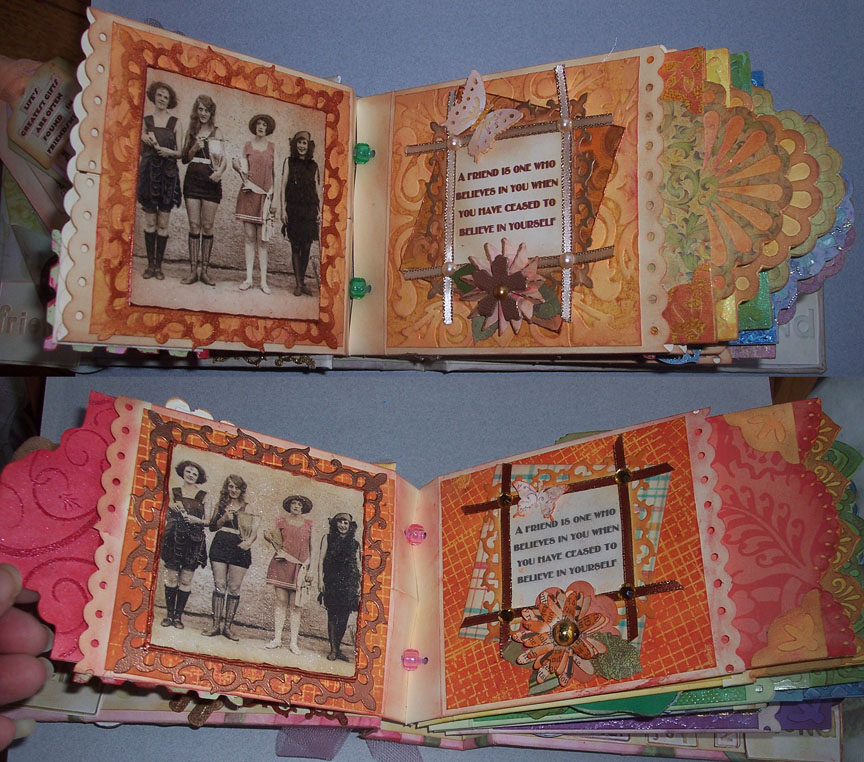
I also created inserts for each page of the books. The pages measure about 4.5 x 6.5" so a 4x 6 photo would slide in perfectly. The front side of the insert I used patterned paper that I altered with inks and cut the tops with various MS and EK Success punches. The backs were all done with Stamps, Ranger clear embossing powder (I found with experimentation it is the finest and sticks the best for my purposes) and inks. The top tags which are muted colors are for the green book, the bottom tags are for the pink/orange book
I also have pics of the boxes. I put a label on the top of each with the recipient's name. the label was cut from Sizzix Alterations Book Plate die and then treated with Ranger Ultra Thick Embossing powder and Gilders Paste. No, I am not affiliated with Ranger - I just love their products!

The fabrics were from my Hoffman Challenge prize package for my 2011 doll. These fabrics are so beautiful - the colors are rich and they feel like silk.
 Inside the boxes are printed cardstock that just blended perfectly. I constructed the boxes from chipboard and adhered the fabric with glue just on the wrapped corners, bottom and inside where it is wrapped. I wanted to make sure no glue showed through. The papers on the inside were adhered with Tacky glue. I would have used Gel Medium or Yes paste, but it doesn't have the permenance of adhering paper to fabric as I would like. I also treated the inside cover the same.
I have also been working on a few class proposal for AFIC. I have one project done, not I just need to do the other. Any Twilight fans out there? Been thinking of doing an After Bella doll - as I see her from reading the books. We will see how she progresses, I plan on using lots of techniques so each student will be able to create their own fabric from basics like satin and organdy and not be so locked into what is on the shelf. She is already sketched out. Just not sure about her shoes!